 |
| Making a Chunky Board Book at home is quick & easy! |
 |
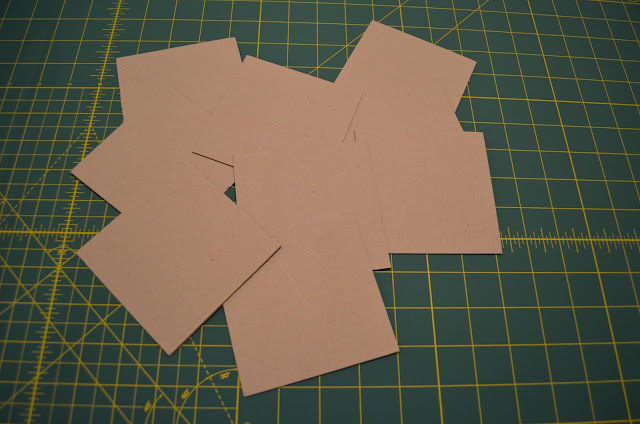
| I found this package of chipboard at JoAnn Fabrics with 30 sheets! |
Supplies:
Chipboard, for the pages.
Mod Podge, Matte
 |
| The first 12x12 paper I cut into 'binding' pieces. |
 |
| I folded the pieces in half, lengthwise. |
..... then applied glue to only half of the strip....
...and attached this to the piece of chipboard that I planned to be my first page....
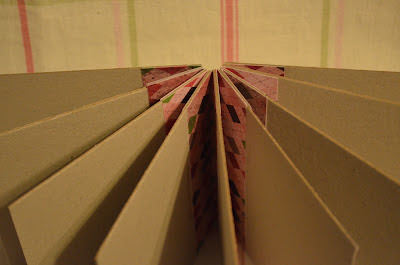
.... after about 30 seconds, I applied glue to the other half of the paper and laid the next piece of chipboard onto it, making sure it lined up. Once dry I stood it up for this photo.
STEP 4: I continued doing this with the rest of the chipboard 'pages' and paper 'binding strips'. Trim any edge pieces that hang over too far, so that you end up with a nice, clean, even edge.,,,
... then I cut the corner tips off on every page, but this isn't necessary. (I actually trimmed mine at the end, but meant to do it at this point. But either time is fine.)
STEP 5: Next I cut a 3"x1" strip of chipboard to help reinforce the back binding.
.... I applied glue to the back of the binding, or spine...
...then I added the chipboard piece and then I let that dry for 1/2 hour.
STEP 6: While waiting for the spine to dry, I took my second piece of paper and trimmed it down to fit into my printer. (8 1/2" x 11")...
... after deciding on a title for my 'book', I ran it through my printer, ...
... then I cut it down for the outside cover of the book...
...making sure to cut the paper a little bit bigger than the actual book size... (I trimmed mine a little too much on the left & right..I should have left a little more for folding inside.)
STEP 7: Apply glue to the outside of the book; the front, back and spine. (The extra, over-lapping paper will be folded over into the inside once the outside has dried.) Once that dries...
... glue the over-lapping paper to the inside of the book.
Ta-Da! All done! Now comes the fun part of adding your pictures to the inside! Mine will be filled with pictures of our family members, with their names, to help my grand-daughter to learn who's who in our family!


No comments:
Post a Comment